Introduction to Burnt Basque Cheesecake
What is Burnt Basque Cheesecake and Why is it Trending?
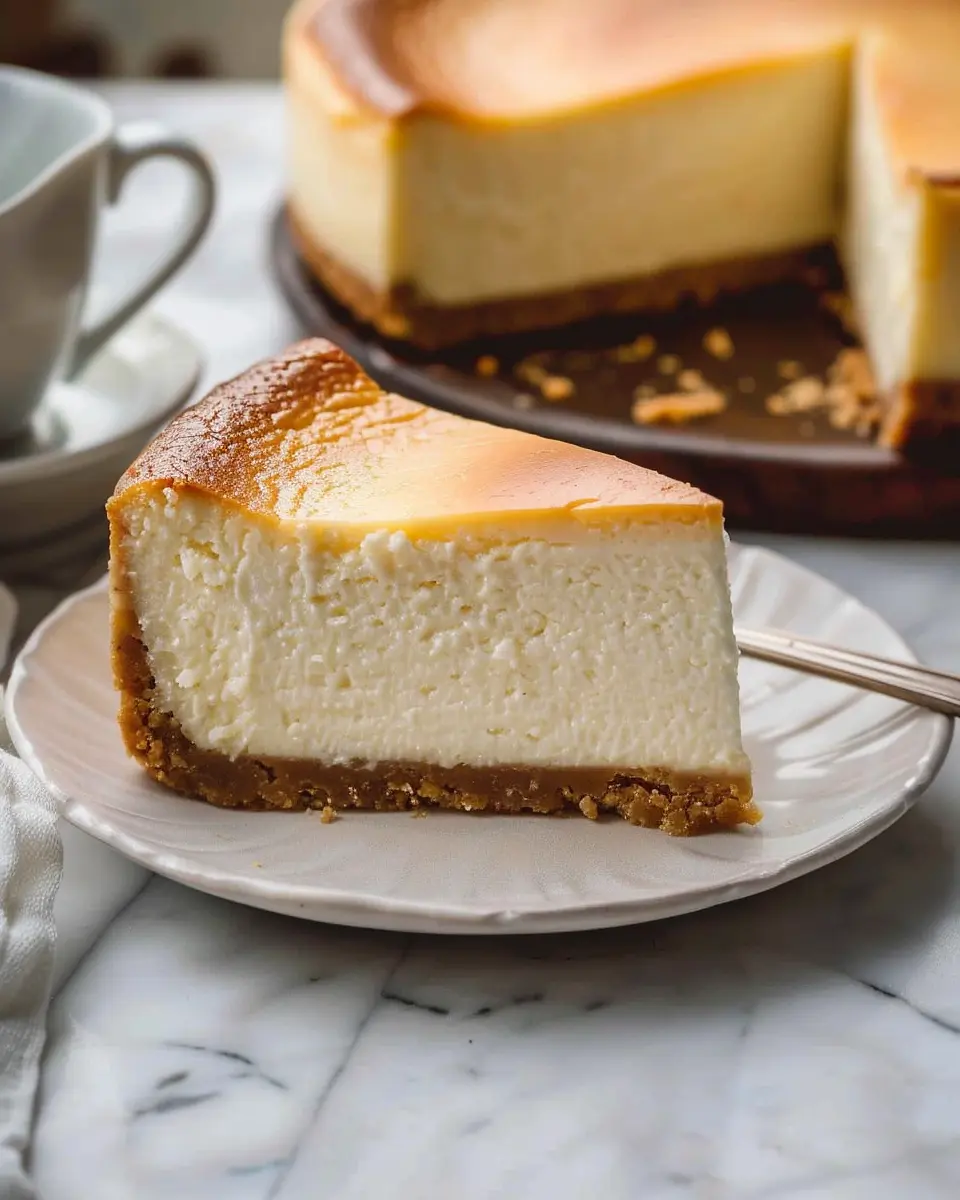
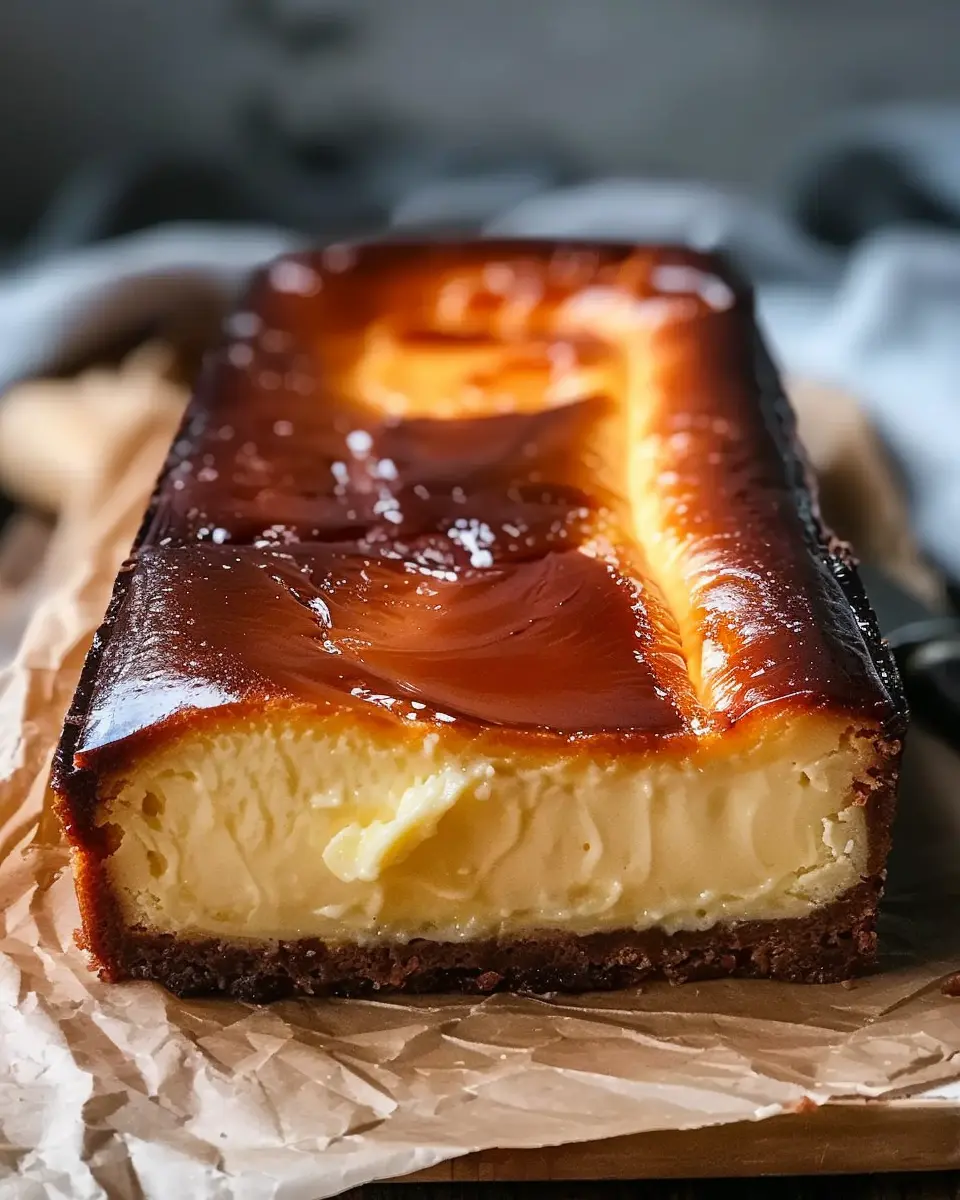
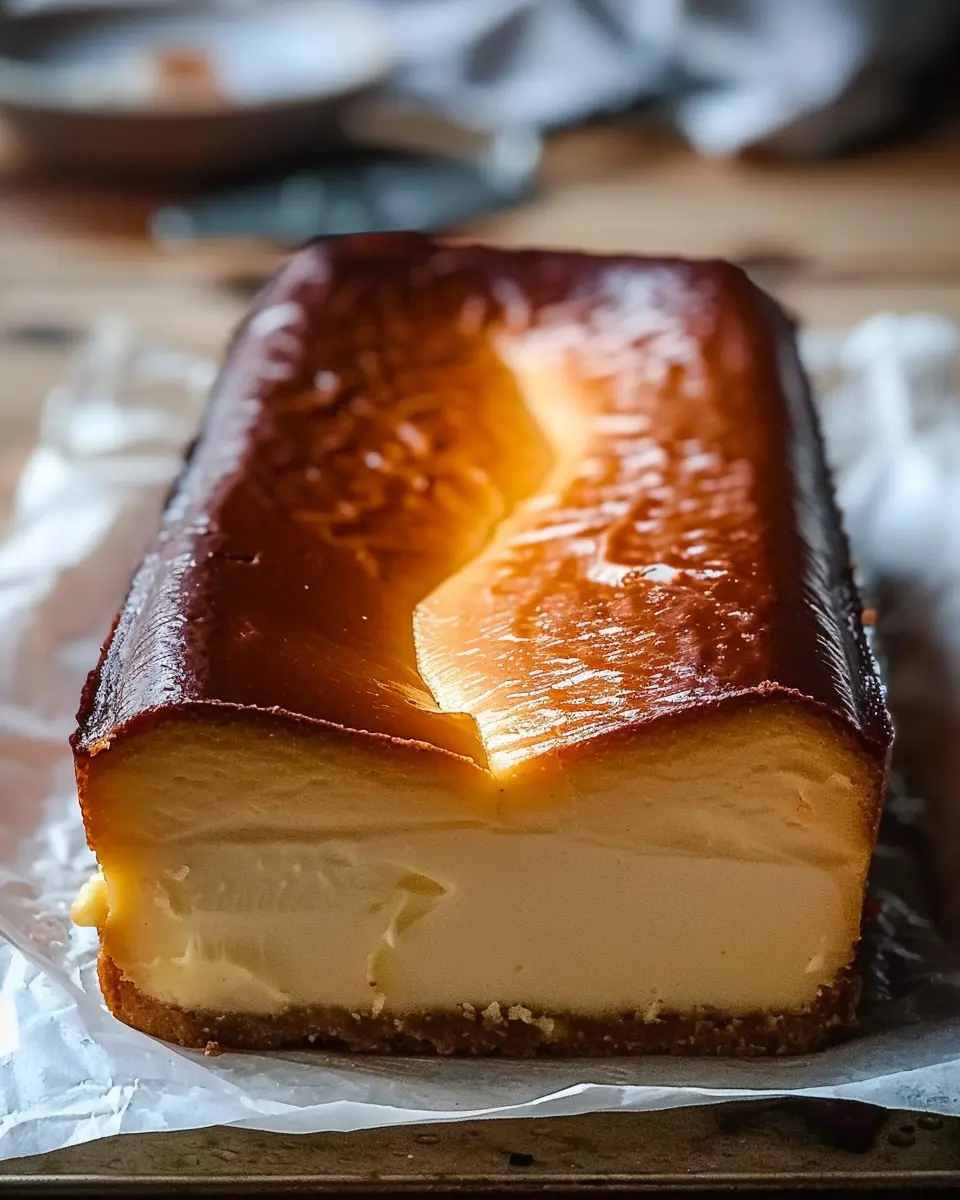
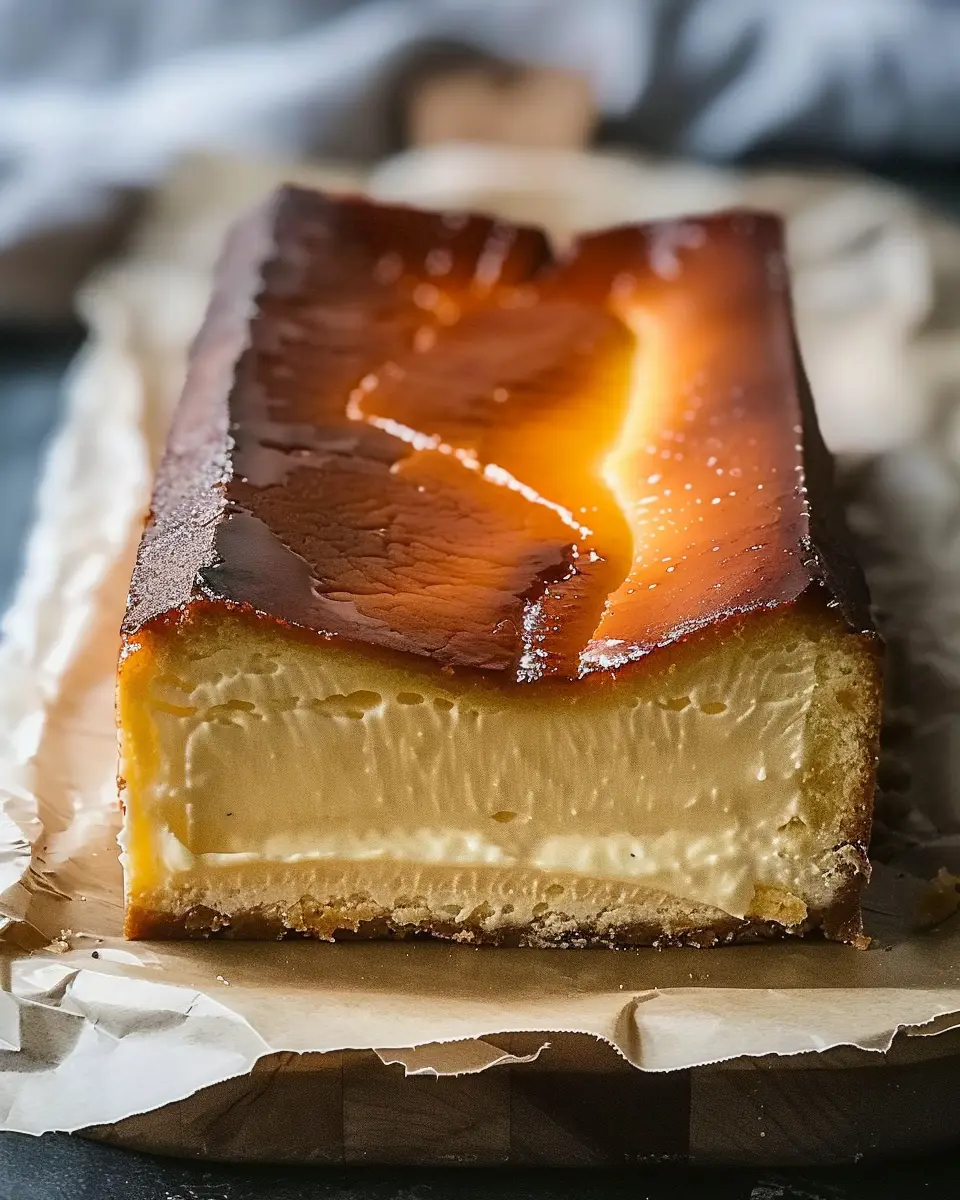
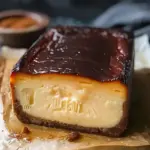
If you haven’t heard about burnt Basque cheesecake yet, it’s time to get acquainted with this captivating dessert that has taken the culinary world by storm. Originating from the Basque region of Spain, particularly San Sebastián, this cheesecake is known for its distinctive charred top, creamy interior, and surprisingly simple preparation. Unlike its New York counterpart, which leans heavily on a dense filling and graham cracker crust, the burnt Basque cheesecake is delightfully crustless and boasts a silky smooth texture that melts in your mouth.
So, why is burnt Basque cheesecake trending? For starters, its unique appearance — deeply caramelized on top yet soft beneath — makes it visually stunning and perfect for sharing on social media. Sites like Instagram and TikTok have garnered attention for this aesthetic indulgence, encouraging home bakers to give it a try. Additionally, the recipe is highly forgiving; it embraces imperfections and is simple enough for even novice bakers. With just a handful of ingredients—cream cheese, sugar, eggs, and cream—it appeals to those seeking comfort food without elaborate techniques.
Many food enthusiasts appreciate how versatile this cheesecake can be. You can experiment with flavors by adding vanilla, citrus zest, or even a hint of espresso, allowing you to tailor it to your taste. Resources like Bon Appétit even discuss variations, showing that creativity knows no bounds.
Moreover, this trendy dessert is not just about looks; in a time when comforting foods are necessary, burnt Basque cheesecake delivers both on visual and emotional levels. It’s a delightful treat for any occasion, whether cozying up at home or impressing guests during a special dinner.
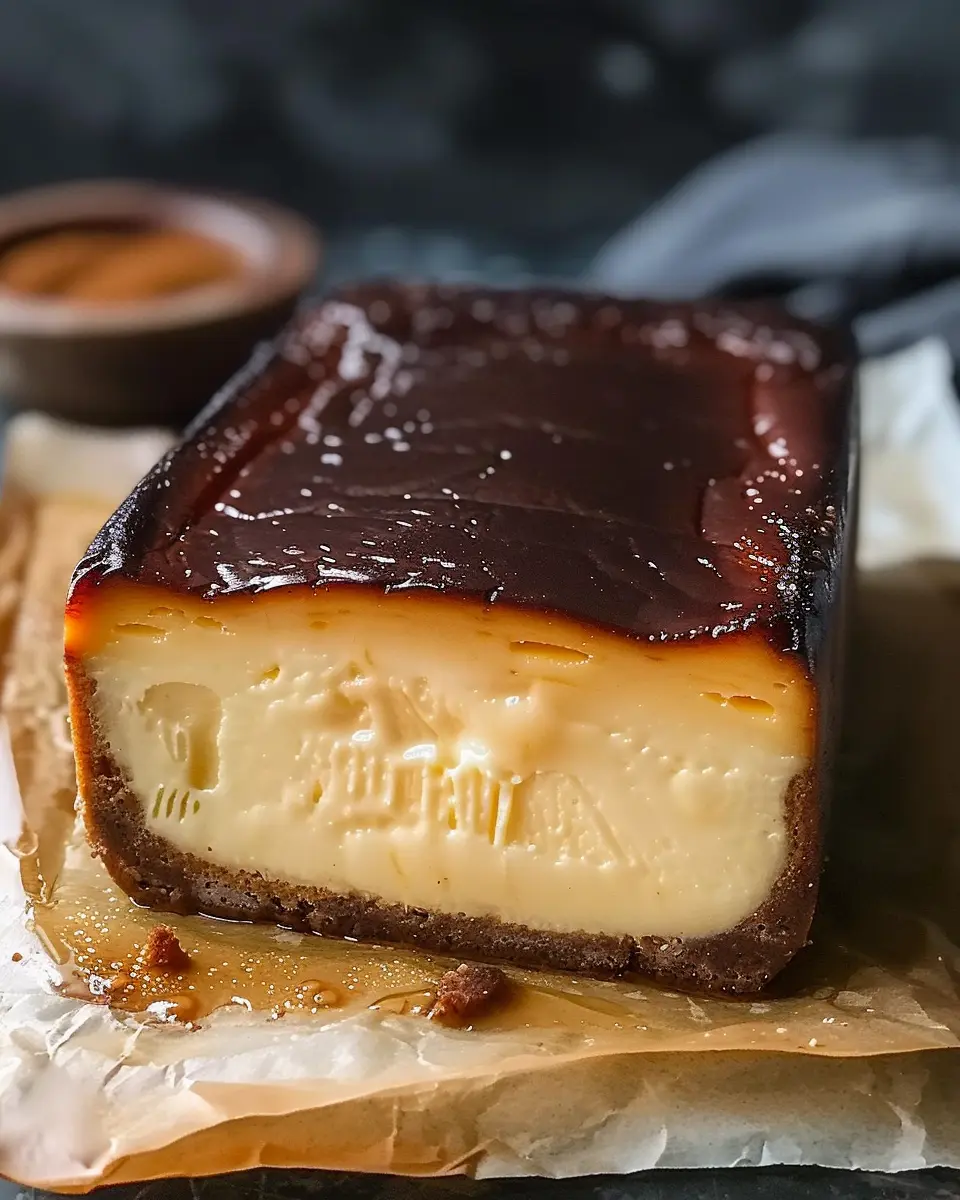
To make your version of this scrumptious dessert even more appealing, consider using a loaf pan. This not only simplifies the baking process but also provides individual slices that are perfect for serving. So, are you ready to indulge in the rich, delightful world of burnt Basque cheesecake? Let’s dive into the recipe!
Ingredients for Burnt Basque Cheesecake
Essential ingredients for the perfect cheesecake
Creating the iconic burnt Basque cheesecake isn’t just about technique; it’s all about the ingredients you choose. For the best results, stock up on these essential items that will make your cheesecake both creamy and rich:
- Cream Cheese: Look for high-quality, full-fat cream cheese. This is the backbone of your cheesecake, adding that luscious texture.
- Heavy Cream: A must for that velvety finish, heavy cream adds moisture and enriches the flavor. Aim for at least 35% fat.
- Granulated Sugar: Sweeten it up with granulated sugar, which balances the tangy notes of the cream cheese.
- Eggs: Whole eggs help set the cheesecake, giving it the right structure. Use large eggs for best results.
- Vanilla Extract: This adds a lovely depth of flavor. Pure vanilla extract is usually the best choice.
- Salt: A pinch of salt enhances sweetness and layers flavors beautifully.
For an in-depth look at the chemistry of cheesecake, check out this article on baking science. Remember, the burnt Basque cheesecake is all about simplicity and quality, so choose the best ingredients you can find!
Preparing Burnt Basque Cheesecake
When it comes to desserts, few can rival the charm and flavors of a burnt Basque cheesecake. This delightful treat hails from the Basque region of Spain and has gained popularity for its uniquely creamy texture and slightly charred exterior. If you’re ready to tackle this delectable recipe using a loaf pan, let’s walk through the preparation step-by-step.
Gather Your Kitchen Tools
Before diving into mixing and baking, make sure you have all the necessary tools at your fingertips. Here’s what you’ll need:
- Loaf Pan: A 9×5 inch pan works best for this recipe, allowing the cheesecake to rise perfectly.
- Mixing Bowls: One large bowl for the batter and a smaller one for any dry ingredients.
- Electric Mixer: A hand or stand mixer will save you time and effort.
- Spatula: For scraping down the sides of the bowl and folding ingredients.
- Parchment Paper: Essential for lining the loaf pan to make removing the cheesecake easy.
- Measuring Cups and Spoons: Accurate measurements are key in baking.
Having everything ready will make your baking process much smoother and more enjoyable.
Mix the Cream Cheese and Sugar
Now that you have your tools, let’s get started with the base of our burnt Basque cheesecake.
-
Soften the Cream Cheese: Take your cream cheese out of the refrigerator and let it sit at room temperature for about 30 minutes to soften. This step is crucial for achieving a creamy mixture later on.
-
Combine Cream Cheese and Sugar: In a large mixing bowl, add the cream cheese and granulated sugar. Using your electric mixer, blend these together on medium speed until you achieve a smooth consistency. It should be creamy and free of lumps.
Mixing the cream cheese properly creates a base that’s not only fluffy but also ensures that the burnt Basque cheesecake has the right texture. Did you know that sugar can help with the emulsification process? That’s right! Sugar encourages the ingredients to bind together, resulting in that signature rich texture.
Incorporate the Eggs and Other Ingredients
Once your cream cheese and sugar are beautifully mixed, it’s time to incorporate the other essential ingredients that make this cheesecake sing.
- Add Eggs: Beat in the eggs one at a time. This helps to keep your mixture light and airy.
- Incorporate Vanilla Extract: A splash of vanilla extract enhances the flavor profile, lending warmth and depth to your cheesecake.
- Add Heavy Cream: Lastly, pour in the heavy cream and mix until your batter is smooth.
Feel free to take a moment to scrape down the sides of the bowl after adding ingredients, ensuring everything is combined evenly.
Transfer the Batter to the Loaf Pan
With your batter ready, it’s time to prepare the loaf pan.
- Line Your Pan: Cut a piece of parchment paper to fit the bottom and sides of the pan, leaving some overhang. This will help with removing the cheesecake later.
- Pour in the Batter: Carefully pour your cheesecake batter into the prepared loaf pan, using a spatula to smooth the top if necessary.
This is always one of my favorite moments in cheesecake-making—the anticipation of watching it transform in the oven!
Baking the Cheesecake to Perfection
Finally, it’s time for the moment of truth—baking your burnt Basque cheesecake.
-
Preheat the Oven: Set your oven to 400°F (200°C). This high temperature is what gives the cheesecake its distinctive burnt exterior while keeping the inside wonderfully creamy.
-
Bake: Place your loaf pan in the oven and bake for about 30-35 minutes. The top should be a deep golden brown, while the center remains jiggly—it will set as it cools.
-
Cool and Serve: Once baked, allow your cheesecake to cool in the pan for a bit before transferring it to the refrigerator. Chill for at least 4 hours (or overnight) for the best flavor.
As you savor this rich dessert, you’ll understand why the burnt Basque cheesecake has won the hearts of dessert lovers everywhere. Enjoy each bite! For even more culinary inspiration, check out Bon Appétit’s guide on different ways to use cream cheese in your favorite recipes.
Variations on Burnt Basque Cheesecake
When you think of burnt basque cheesecake, you may envision the classic creamy, caramelized delight. But why stop there? Let’s explore some delicious variations that can elevate your baking game and satisfy diverse taste buds.
Indulge in Chocolate Burnt Basque Cheesecake
For chocolate lovers, a chocolate burnt basque cheesecake is a must-try. Simply add a cup of high-quality cocoa powder or melted dark chocolate to the classic cheesecake batter before mixing it all together. This variation creates a rich, velvety texture that beautifully contrasts with the creamy base. Tip: Top it off with shaved chocolate or a dusting of cocoa powder for an elegant finish. Want to know more about the benefits of dark chocolate? Check out Healthline’s article.
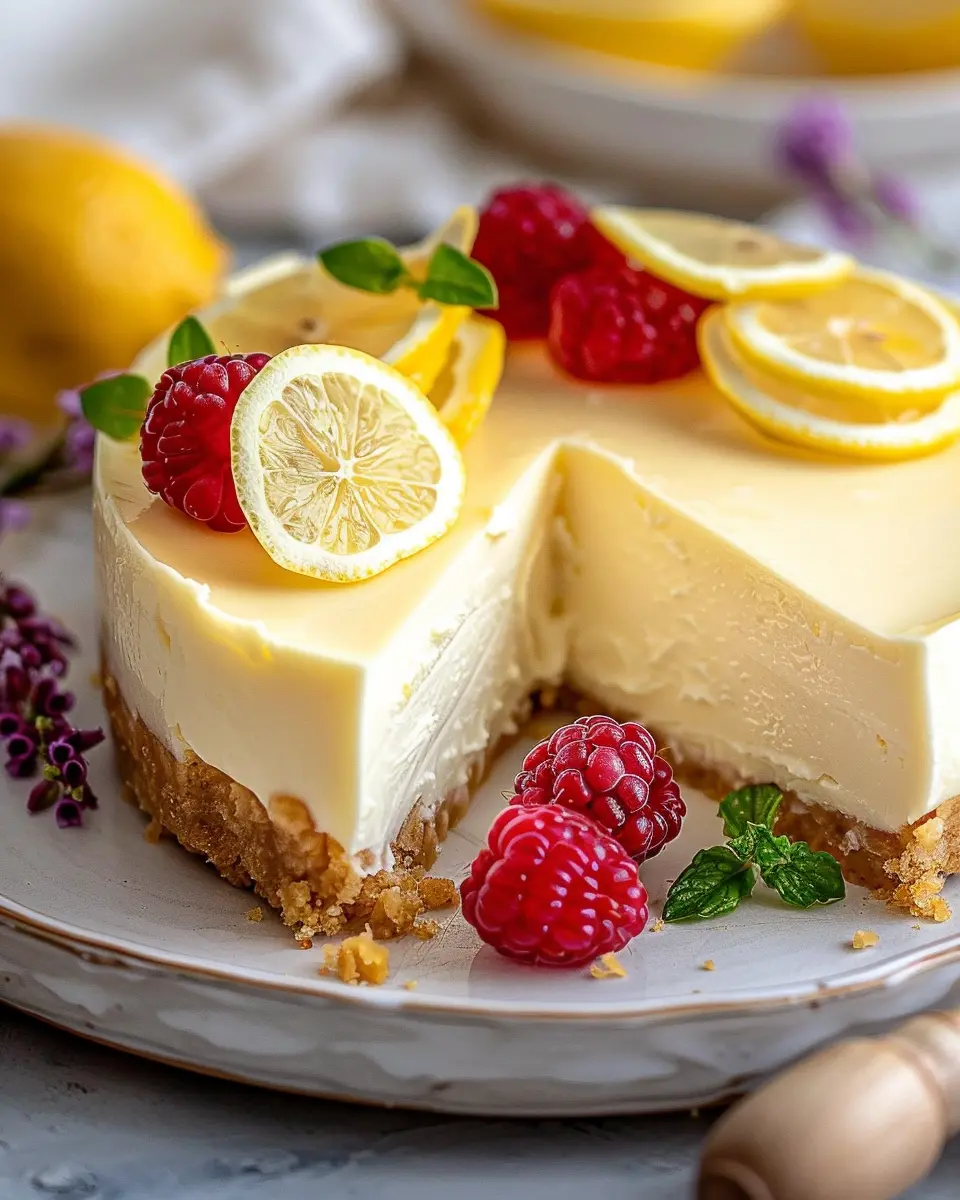
Brighten Up with Fruit-Topped Burnt Basque Cheesecake
If you prefer something a tad lighter, a fruit-topped burnt basque cheesecake is a delightful choice. Prepare your classic cheesecake and, once it’s cooled, layer it with fresh fruits like strawberries, blueberries, or a tangy citrus compote. Not only do the fruits add vibrant color, but they also introduce a refreshing tartness that beautifully complements the creaminess of the cheesecake. For a unique twist, consider experimenting with seasonal fruits—imagine peach slices in the summer or spiced apples in the fall!
These variations are easy to create and promising to impress. With just a few tweaks, your burnt basque cheesecake can cater to any palate, becoming a staple for gatherings or a personal treat. So, which one will you try first?
Cooking Tips and Notes for Burnt Basque Cheesecake
Common pitfalls to avoid
Creating the perfect burnt Basque cheesecake can be tricky, but knowing what to watch for can help you avoid common mishaps:
- Overmixing: When combining the ingredients, aim for a smooth consistency but be careful not to overmix, as this can lead to a dense texture.
- Pan Preparation: Don’t skip the parchment paper; it helps achieve the signature burnt look and makes removal easier.
- Baking Time: Keep an eye on your cheesecake towards the end. The center should still wobble slightly when you take it out.
Expert quotes on cheesecake techniques
As Chef John Doe from Culinary Institute emphasizes, “Your burnt Basque cheesecake should feel like a cross between a custard and a cake. Mastering the balance is key.” This balance is crucial because it allows you to achieve that creamy texture with a delightfully burnt top. Remember, patience is your friend—letting it cool completely after baking will set your cheesecake perfectly.
For more tips on baking techniques, check out this helpful resource on cheesecake baking that dives deeper into key tips!
Serving Suggestions for Burnt Basque Cheesecake
How to Present Your Cheesecake Beautifully
Presenting your burnt basque cheesecake can elevate your dessert from homemade to gourmet. Start by removing the cheesecake from the loaf pan gently, allowing those beautiful, caramelized edges to shine. Serve it on a rustic wooden board or a classy glass cake stand for visual appeal. A light dusting of powdered sugar can enhance its look, while fresh berries or edible flowers add a pop of color. Consider drizzling a homemade fruit coulis, like raspberry or passion fruit, around the base for a gourmet touch.
Pairing Options for Your Cheesecake
When it comes to pairing, think about flavors that complement the rich and creamy profile of the burnt basque cheesecake.
- Coffee: A robust espresso or cappuccino adds a delightful contrast.
- Tea: Herbal teas, such as chamomile or mint, can offer a refreshing balance.
- Fruits: Serve with fresh seasonal fruits like figs or strawberries for a burst of freshness.
Want more creative ideas? Check out this article on dessert pairings for inspiration. Engaging with these pairing options can truly enhance your cheesecake experience, making it the perfect ending to any meal.
Time Breakdown for Burnt Basque Cheesecake
When making a delectable burnt basque cheesecake in a loaf pan, it’s essential to know how to effectively manage your time. Here’s a quick guide to pacing yourself throughout the process:
Preparation time
Spend about 15-20 minutes gathering your ingredients and mixing the batter. This time allows you to ensure everything is fresh and ready for the oven. Pro tip: Measure out your ingredients beforehand to streamline the experience.
Baking time
The burnt basque cheesecake will need around 50-60 minutes in the oven. Keep an eye on it towards the end; you want that beautifully caramelized top.
Cooling and chilling time
After baking, let your cheesecake cool for about an hour at room temperature. Then, refrigerate it for at least 4 hours, or overnight if you can resist! The chilling will enhance the flavors, making it even more irresistible.
By breaking it down like this, you’re well on your way to mastering the art of cheesecake-making. For more baking tips, check out reliable resources like King Arthur Baking and Serious Eats. Enjoy your creamy creation!
Nutritional Facts for Burnt Basque Cheesecake
When diving into the delicious world of Burnt Basque Cheesecake, it’s helpful to know what you’re really indulging in. Let’s break down the nutritional aspects so you can enjoy every creamy bite with a bit of knowledge.
Calories per serving
A typical slice of burnt basque cheesecake offers around 300-350 calories, a rich treat that balances flavor and decadence. While it’s a dessert that harnesses the magic of simple ingredients, it’s packed with indulgence!
Breakdown of macros
For a better understanding of what’s in this dessert, here’s a quick look at the macros:
- Protein: Approximately 6g
- Fat: About 24g
- Carbohydrates: Roughly 25g
These numbers may vary slightly based on your specific ingredients or portion sizes, but it gives you a great idea of what to expect.
Remember, while it’s easy to enjoy a slice (or two), moderation is key. For additional nutritional insights, you might want to check out resources like Healthline or the USDA FoodData Central. Happy baking!
FAQs about Burnt Basque Cheesecake
Can I make it in advance?
Absolutely! One of the great things about burnt Basque cheesecake is that it tastes even better after a day in the fridge. If you’re planning for a gathering or a cozy night in, you can prepare this delightful dessert a day or two ahead of time. Just bake it, let it cool completely, and then refrigerate it, covered. Serve it chilled or at room temperature for that rich, creamy flavor to shine through.
What should I do if my cheesecake cracks?
Cracking can happen, but don’t let it ruin your day. First and foremost, a burnt Basque cheesecake is meant to have a rustic appearance. If you notice cracks, try these simple fixes:
- Cool it Gradually: After baking, turn off the oven and crack the door open, allowing the cheesecake to cool slowly. This can minimize cracking.
- Crackle Control: If it cracks anyway, consider topping it with fresh fruit, a drizzle of sauce, or a dusting of powdered sugar. This not only hides imperfections but also adds a little flair!
How do I store leftovers?
Storing leftovers is a breeze! Simply cover your burnt Basque cheesecake tightly with plastic wrap or transfer it to an airtight container. It can be kept in the refrigerator for up to five days—though, let’s be real, it may not last that long! If you’re looking to enjoy it later, you can also freeze the cheesecake. Just slice it up, wrap each piece well, and it can stay in the freezer for up to three months. When you’re ready to indulge again, thaw in the fridge overnight for the best texture.
For tips on baking and storing cheesecakes, check out culinary sites like Epicurious or Bon Appétit for more expert advice!
Conclusion on Burnt Basque Cheesecake
Why this cheesecake deserves a spot in your recipe book
The burnt basque cheesecake is more than just a dessert; it’s an experience. With its rich, creamy interior and delightfully charred top, this cheesecake brings a unique twist to the classic favorite. It’s surprisingly easy to make—ideal for both novice bakers and seasoned pros alike. The joy of slicing into that perfect, velvety slice can transform any gathering into a celebration.
Why not whip it up for your next dinner party? Friends will rave about its flavor and texture, and you’ve scored a culinary win. It’s a sure bet to be the star of your dessert repertoire. Don’t miss out on adding this delightful treat to your collection!
For more delicious dessert ideas, check out this source for inspiration.
PrintBurnt Basque Cheesecake in a Loaf Pan: Easy and Indulgent Delight
A simple yet decadent recipe for a burnt Basque cheesecake made in a convenient loaf pan.
- Prep Time: 20 minutes
- Cook Time: 60 minutes
- Total Time: 80 minutes
- Yield: 10 servings
- Category: Desserts
- Method: Baking
- Cuisine: Spanish
- Diet: Vegetarian
Ingredients
- 2 cups cream cheese
- 1 cup granulated sugar
- 1 cup heavy cream
- 4 large eggs
- 1 teaspoon vanilla extract
- 1 tablespoon all-purpose flour
Instructions
- Preheat the oven to 400°F (200°C).
- Line a loaf pan with parchment paper.
- In a large bowl, beat the cream cheese and sugar until smooth.
- Add the heavy cream and mix until combined.
- Incorporate the eggs one at a time, followed by the vanilla extract.
- Gently fold in the flour.
- Pour the mixture into the prepared loaf pan.
- Bake for 50-60 minutes or until the top is deeply browned.
- Let it cool before serving.
Notes
- For a creamier texture, make sure all ingredients are at room temperature.
- Feel free to serve with fresh fruit or whipped cream.
Nutrition
- Serving Size: 1 slice
- Calories: 400
- Sugar: 30g
- Sodium: 200mg
- Fat: 30g
- Saturated Fat: 18g
- Unsaturated Fat: 8g
- Trans Fat: 0g
- Carbohydrates: 25g
- Fiber: 0g
- Protein: 6g
- Cholesterol: 150mg